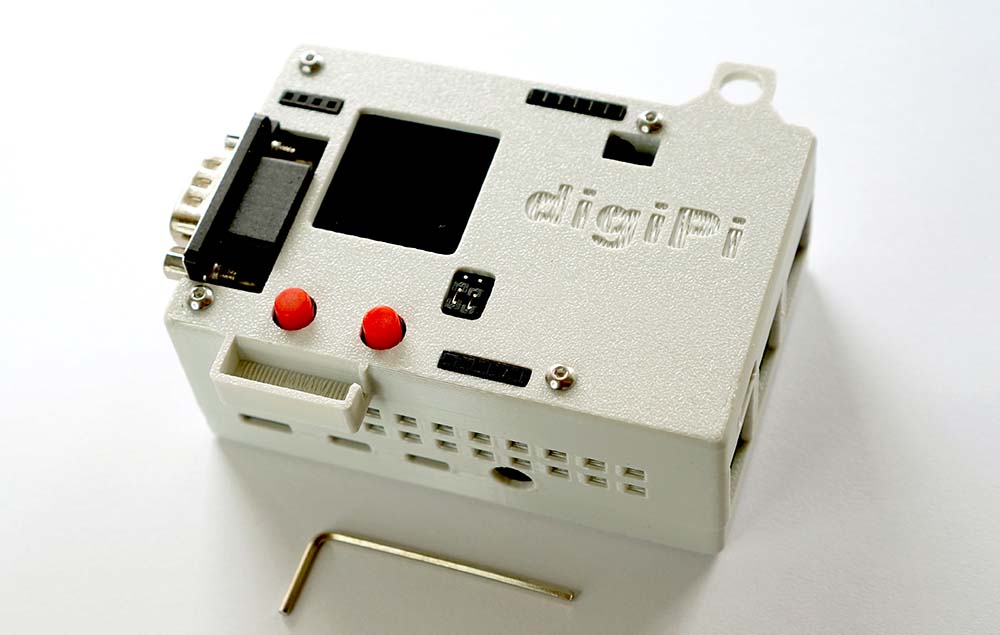
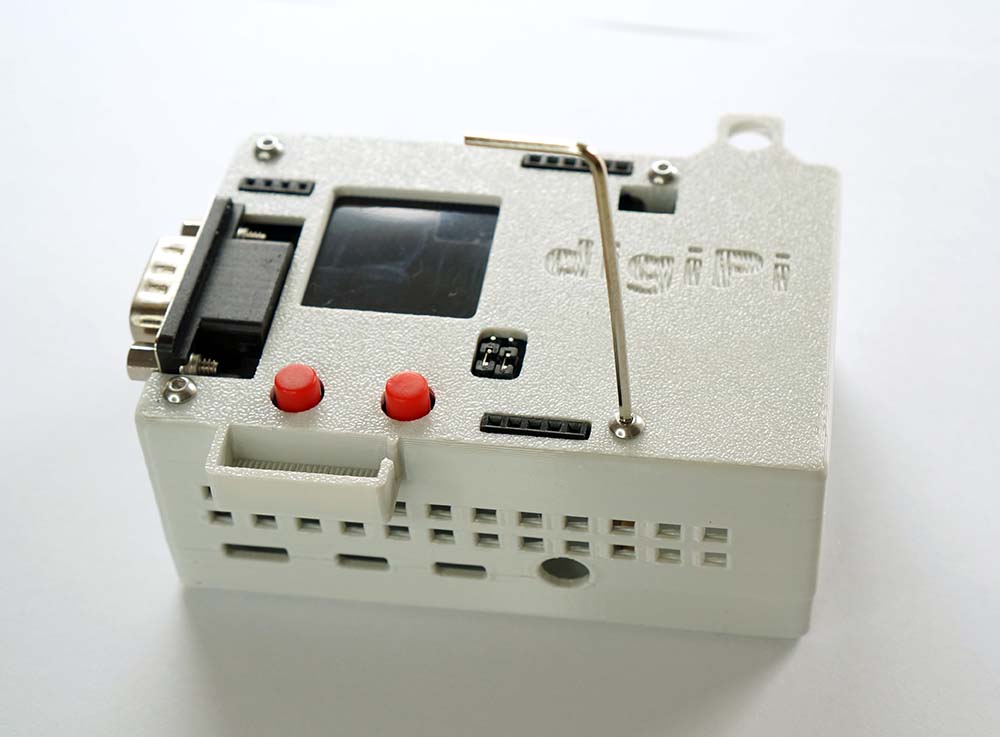
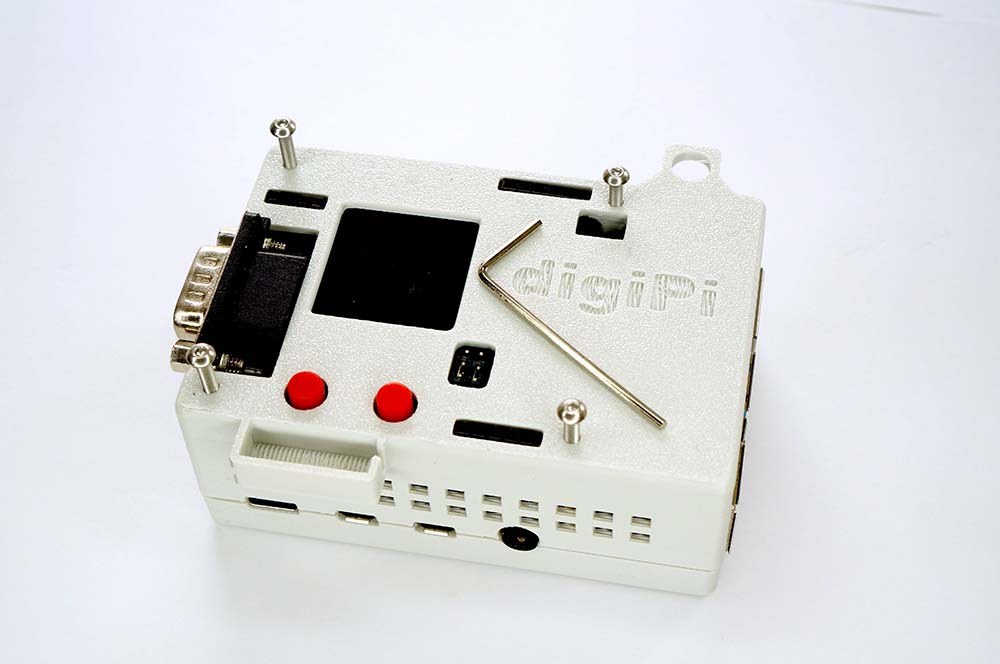
The new digiPi HAT is installed in the housing without a Pi during the shipment, in order to install it on a Raspberry Pi, we need to open the enclosure. Find out the supplied HEX key in the package. First of all, we need to remove the FOUR screws that secure the top cover.
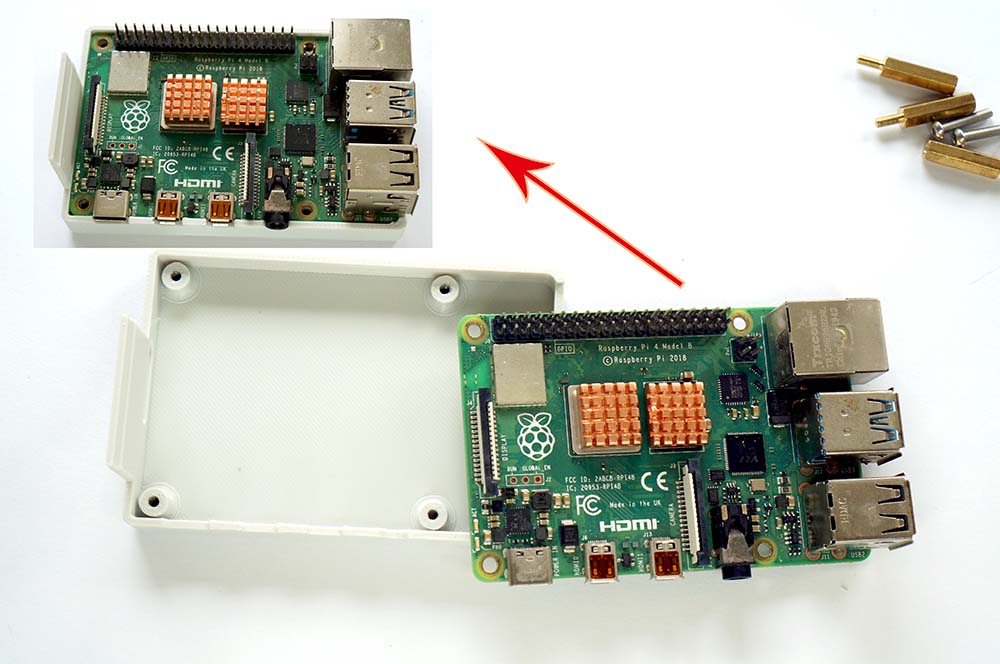
Now, remove the top cover, and you will see the new digiPi HAT inside. You could see the new digiPi HAT is sitting on the 4 standoffs
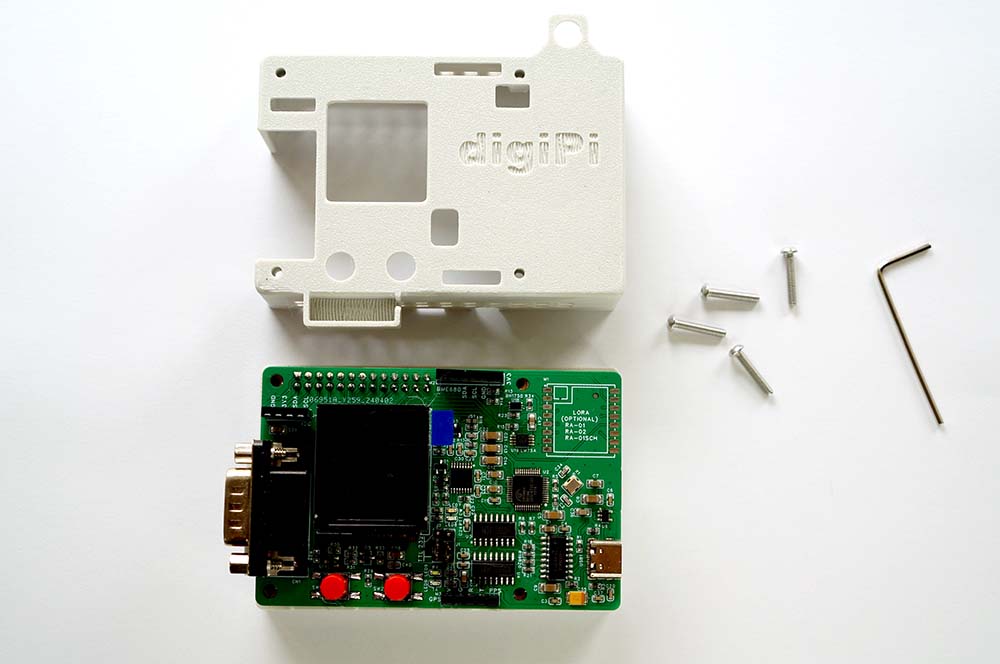
Take the board out, you will see 4 copper standoffs, use a plier to remove them out. See the picture below:
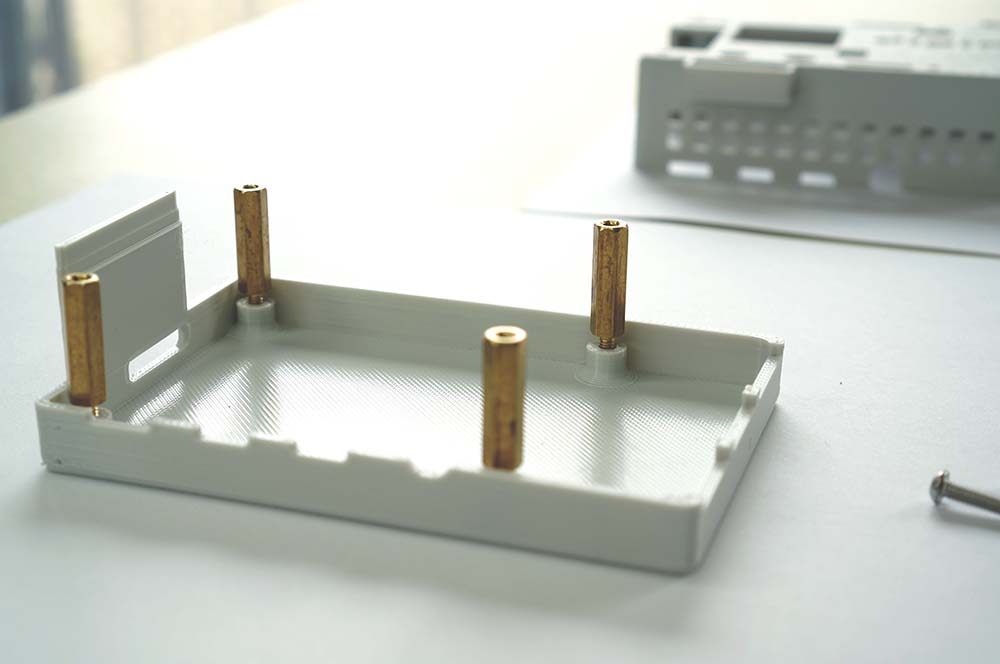
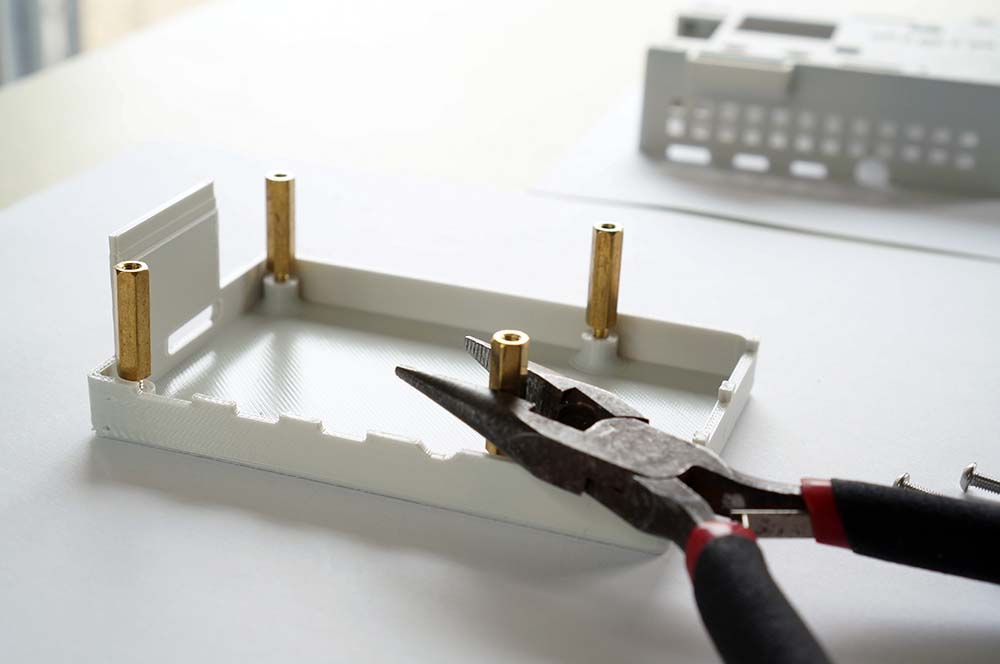
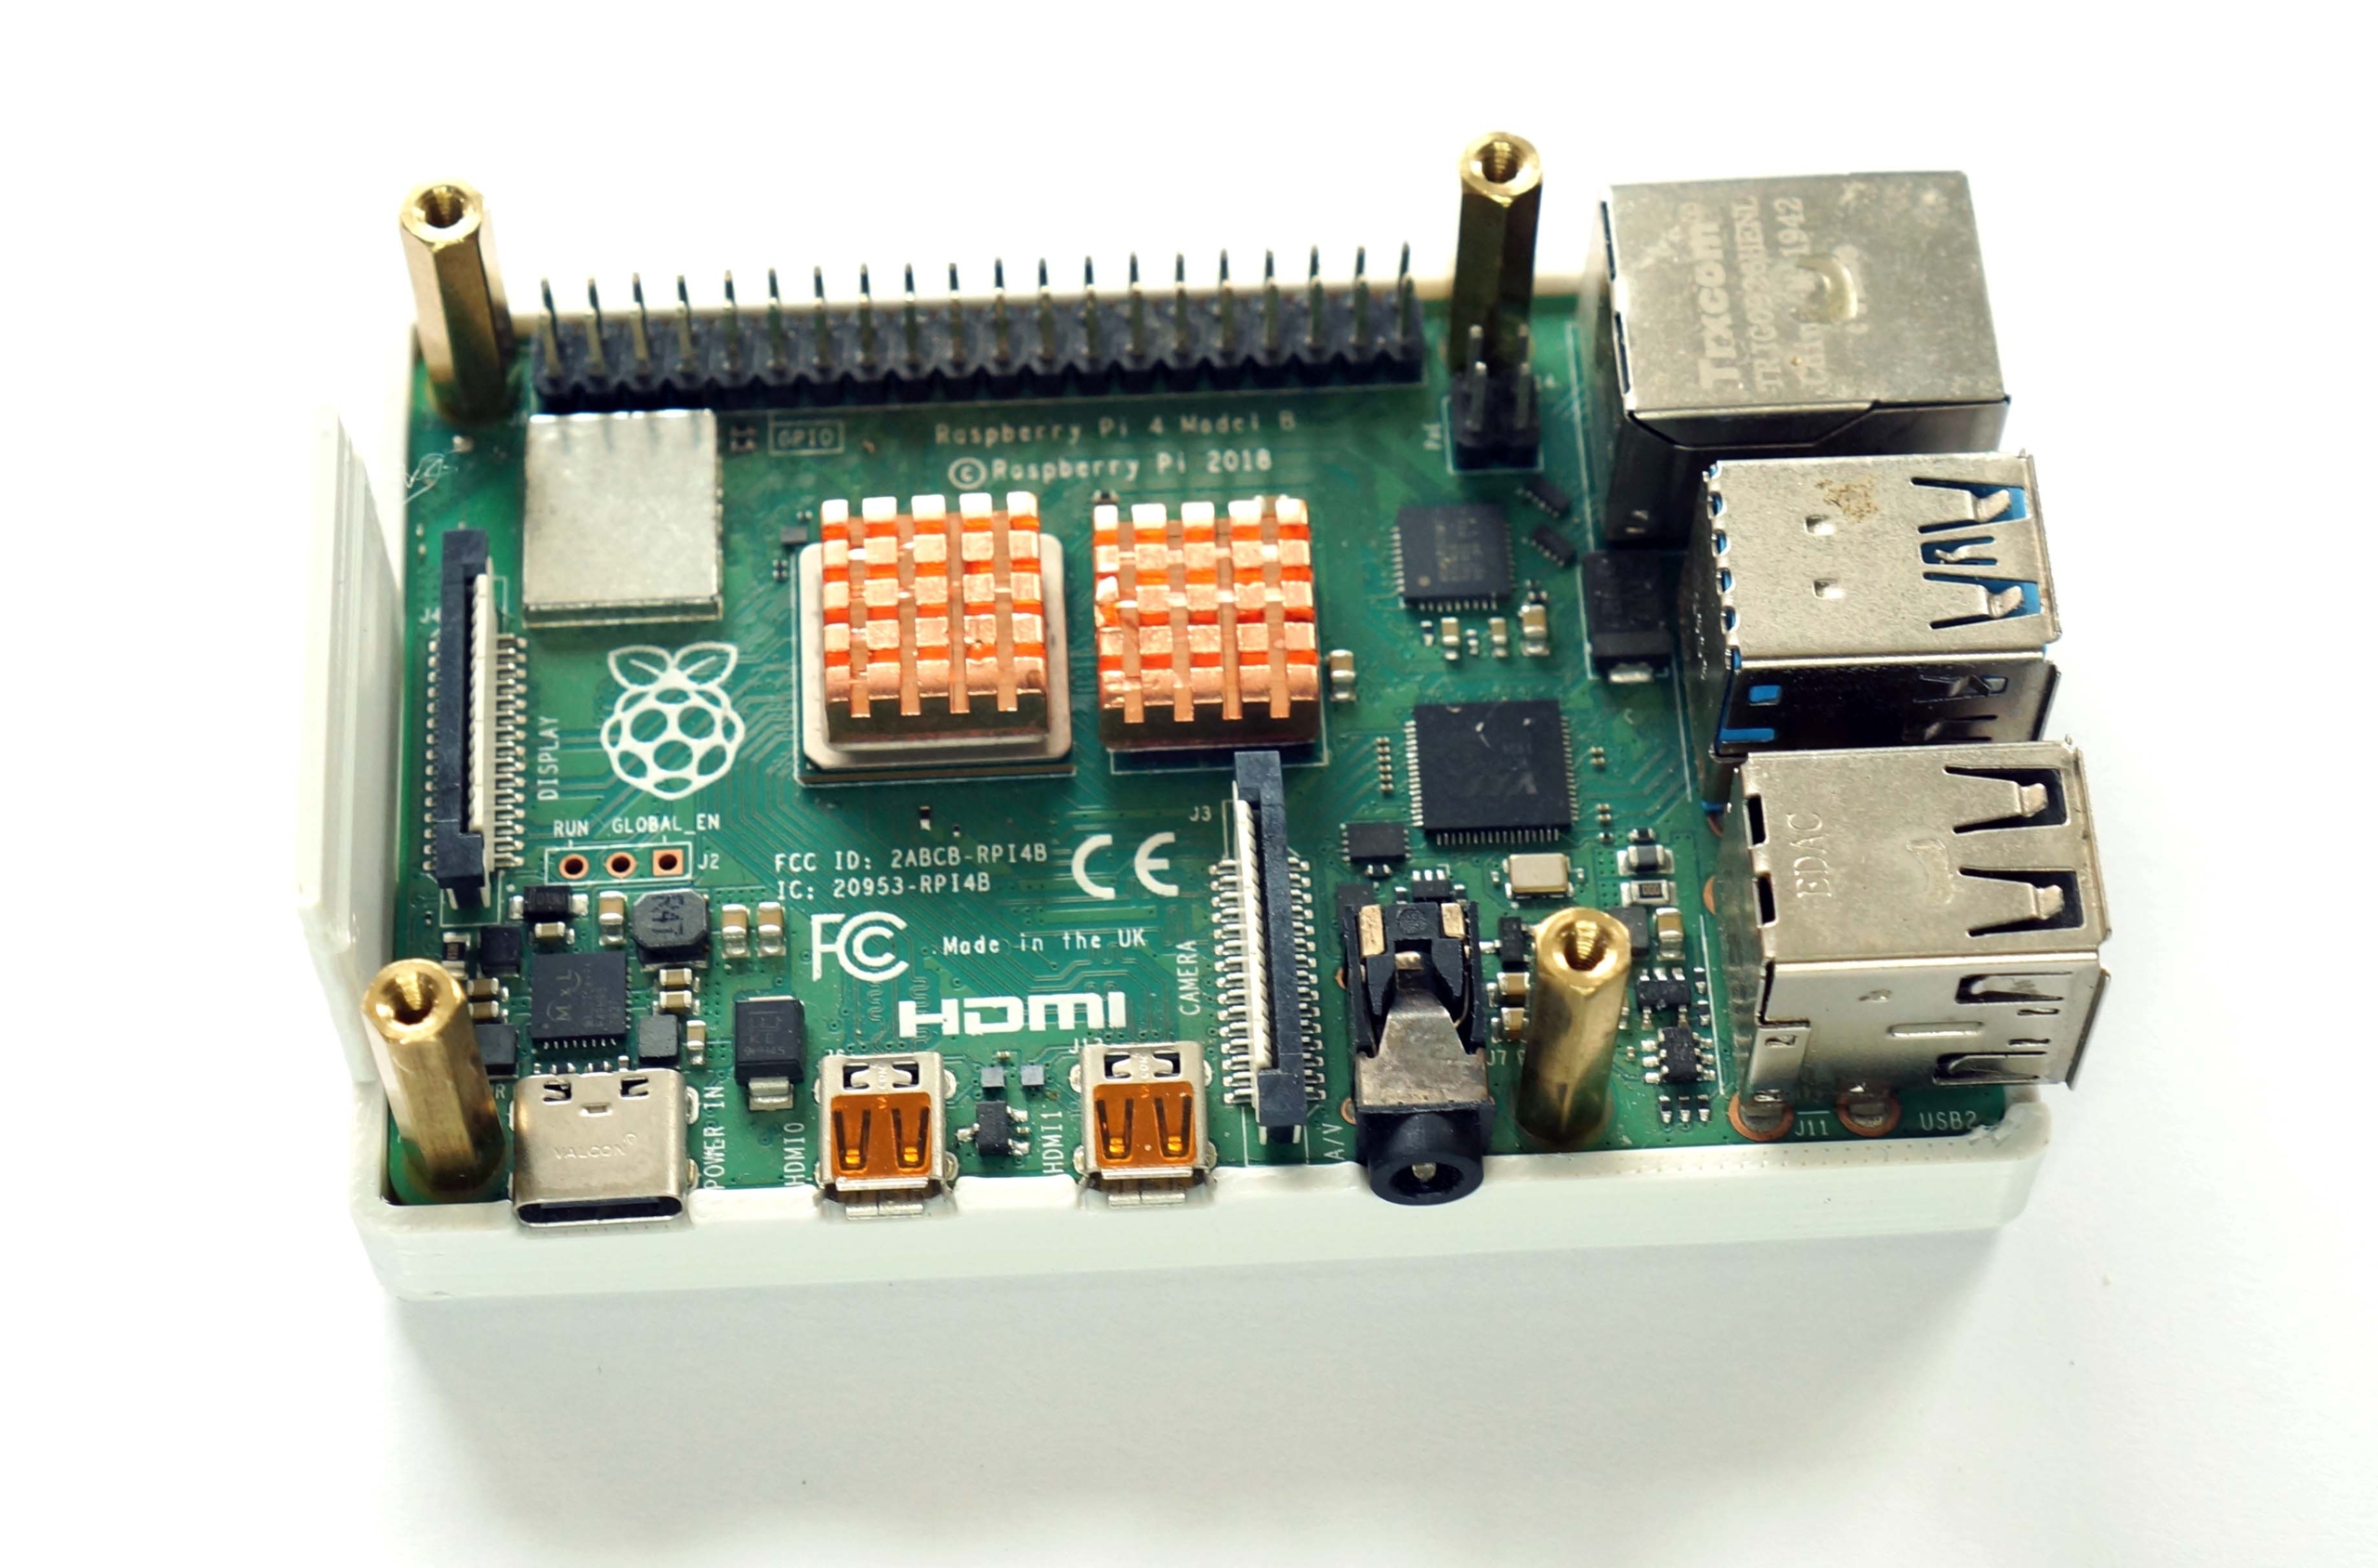
Next, put your raspberry Pi onto the bottom part of the case and secure your Pi by screwing in the four copper standoffs.
After that, put the top cover back and secure it by the screws.
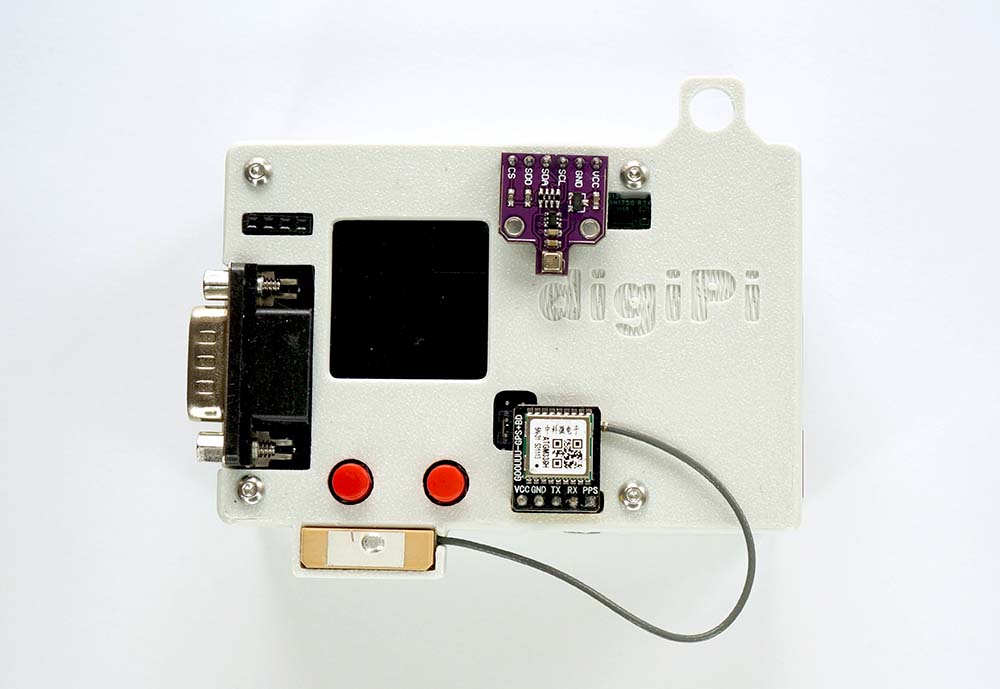
If you have bought the optional parts, now your could put them on. Place the GPS’s antenna module into the rectangle socket at the lower left side of the case.
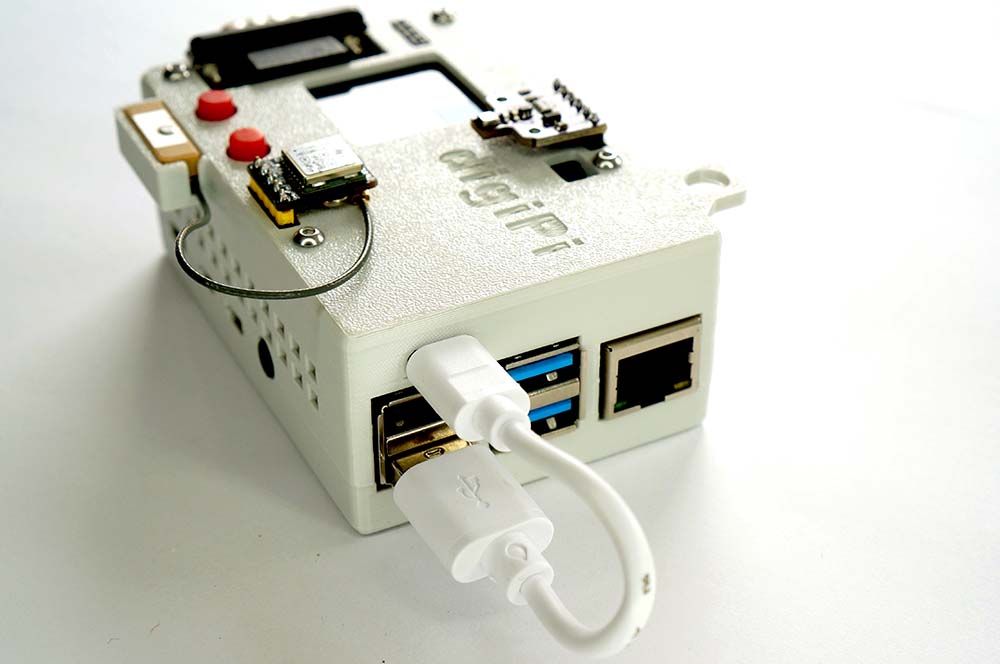
Do not forget to plug in the USB-C cable before use.
Finally, apply 4 rubber feet(only for ‘with 3d printed case‘ buyers) on the bottom. Enjoy it!

Hello, my Pi hat and case arrived today, it took 2 minutes to fit round my Pi5 and it works well and looks great.
Thank you, Robbie